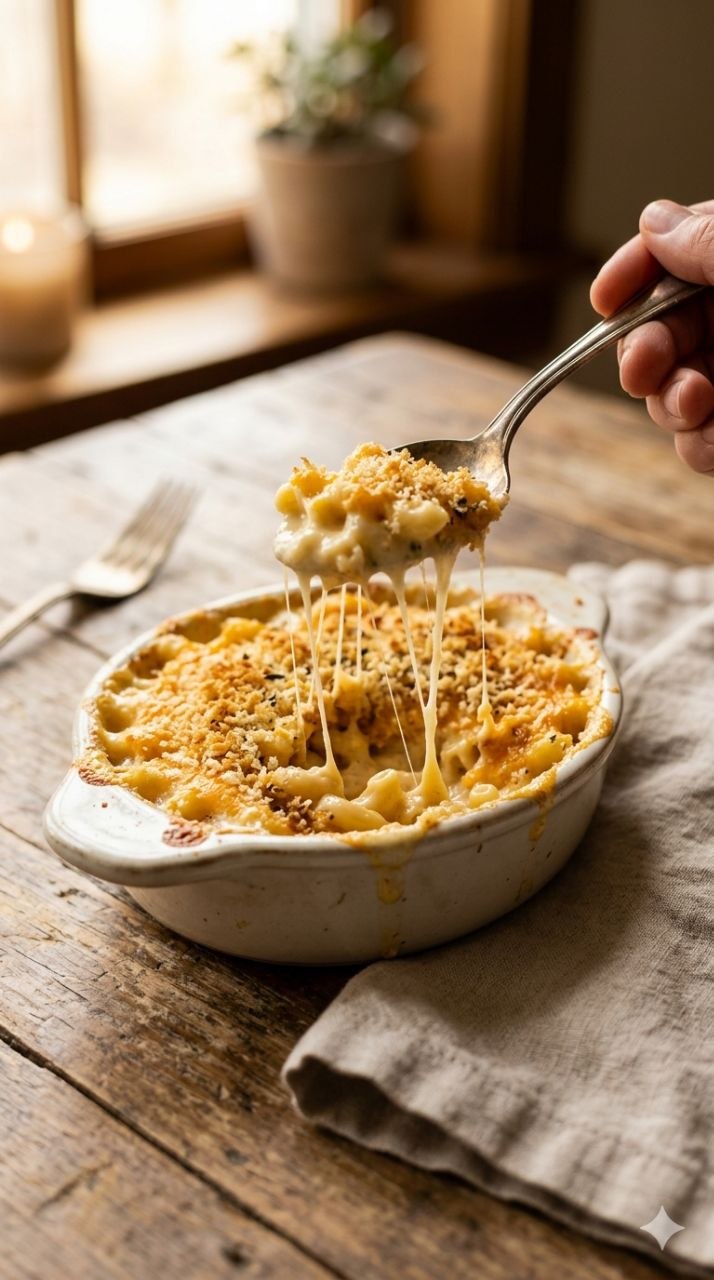
Mac and Cheese
RECIPE CARD
Recipe Name: Mac and Cheese
Prep Time: 10 minutes | Cook Time: 20 minutes | Total Time: 30 minutes
Servings: 4–6
Difficulty: Easy
Estimated Calories per Serving: 450 kcal
Equipment Needed:
- Medium saucepan
- Large pot for pasta
- Whisk
- Wooden spoon or heatproof spatula
- Oven-safe baking dish (optional if baking)
- Measuring cups and spoons
WHY THIS RECIPE WORKS FOR REAL LIFE
This mac and cheese hits the sweet spot between quick weeknight comfort food and a recipe you can prep ahead. It comes together in about 30 minutes, uses ingredients most kitchens already have, and is forgiving if you need to swap cheeses or milk.
It’s especially practical for busy households: leftovers store well, and it can be baked or served straight from the stove. Weeknight cooks benefit most, but it also works for small gatherings or casual meal prep.
A small kitchen insight: cooking the pasta just shy of al dente helps it finish perfectly in the sauce, avoiding mushiness.
INGREDIENTS (WITH CONTEXT)
- 8 ounces elbow macaroni (or other short pasta) – Important: Holds sauce well; fusilli or shells also work. Avoid long noodles—they won’t coat evenly.
- 2 cups shredded sharp cheddar cheese – Important: Provides the main cheesy flavor. Mild cheddar works, but avoid pre-shredded “blend” with anti-caking agents if possible—they can be grainy.
- 1 cup shredded mozzarella – Flexible: Adds creaminess and stretch. Substitute provolone or Monterey Jack.
- 2 tablespoons unsalted butter – Important: Helps form the roux; salted is okay but adjust salt.
- 2 tablespoons all-purpose flour – Important: Thickens the sauce; can’t skip.
- 2 cups milk (whole or 2%) – Flexible: Whole milk gives creamier texture. Non-dairy milk works but may reduce richness.
- ½ teaspoon salt – Important: Enhances flavor. Adjust after tasting.
- ¼ teaspoon black pepper – Flexible: Adds mild depth. Can increase to taste.
- ¼ teaspoon paprika or cayenne – Optional: Adds subtle warmth; omit if preferred.
- ½ cup breadcrumbs (optional, for baking) – Flexible: Adds crunch on top if baked. Can use panko or skip entirely.
STEP-BY-STEP COOKING METHOD
- Cook the pasta
- Bring a large pot of salted water to a boil. Add the elbow macaroni and cook 1–2 minutes less than package directions.
- Time: 7–8 minutes
- Visual cue: Pasta should be firm, not soft; it will finish cooking in the cheese sauce.
- Why: Prevents mushy mac and cheese after sauce is added.
- Common mistake: Overcooked pasta → mushy texture. If this happens, drain and rinse under cold water to stop cooking slightly.
- Shortcut: Use frozen, pre-cooked pasta; reduce sauce thickening time slightly.
- Make the roux
- In a medium saucepan over medium heat, melt butter. Sprinkle in flour, whisking constantly for about 1–2 minutes until pale golden.
- Why: Cooking the flour removes raw taste and ensures smooth sauce.
- Visual cue: Should smell slightly nutty; paste will bubble.
- Mistake: Browning too much → darker, less creamy sauce. Lower heat if it browns too fast.
- Add milk slowly
- Gradually whisk in milk, a little at a time, until smooth. Continue whisking as it heats.
- Time: 3–4 minutes
- Visual cue: Sauce thickens and becomes velvety.
- Why: Gradual addition avoids lumps and ensures even thickening.
- Mistake: Pouring all milk at once → lumps. Fix by whisking vigorously or blending briefly with a hand blender.
- Season and melt cheese
- Stir in salt, pepper, paprika, then gradually add cheeses, whisking until melted and smooth.
- Time: 2–3 minutes
- Visual cue: Sauce should be glossy and pourable, not grainy.
- Why: Adding cheese gradually prevents clumping and separation.
- Mistake: High heat → cheese can seize or become stringy. Keep heat low and stir constantly.
- Combine pasta and sauce
- Drain pasta, then fold into cheese sauce until evenly coated.
- Time: 1–2 minutes
- Visual cue: Every noodle is glossy and coated.
- Why: Ensures flavor and texture are consistent.
- Mistake: Pouring sauce on cold pasta → sauce may firm up too quickly. Warm pasta absorbs sauce better.
- Optional: Bake for a crust
- Transfer mac and cheese to a greased baking dish, top with breadcrumbs, and bake at 375°F for 15–20 minutes until golden.
- Visual cue: Golden brown top, bubbling edges.
- Why: Adds texture contrast; flavor develops slightly.
- Mistake: Skipping butter on breadcrumbs → topping sticks or burns. Brush lightly with butter or oil.
COMMON PROBLEMS & HOW TO FIX THEM
- Sauce too thin → Simmer gently 1–2 minutes to reduce, or stir in a small amount of extra shredded cheese.
- Sauce lumpy → Whisk vigorously over low heat; strain if necessary. Gradual milk addition prevents this.
- Cheese clumps or separates → Usually from high heat. Lower temperature, stir continuously, add cheese gradually.
- Pasta mushy → Cook slightly less than package instructions; residual cooking occurs in sauce.
- Bland flavor → Adjust salt after cheese is fully melted; consider adding a pinch of mustard or smoked paprika.
- Top burns in oven → Cover with foil halfway through baking; only uncover to brown final 5 minutes.
- Cheese not melting smoothly → Use real block cheese, not processed pre-shredded blend with anti-caking agents.
- Texture too dry → Add 1–2 tablespoons milk and stir before serving.
VARIATIONS & ADJUSTMENTS
- Cheese swaps: Gruyère, fontina, or Colby work well; mixing sharp and mild cheeses balances flavor.
- Vegetables: Fold in steamed broccoli, roasted cauliflower, or sautéed spinach for more nutrition.
- Protein: Shredded rotisserie chicken, cooked bacon, or ham pieces make it heartier.
- Spice adjustments: Smoked paprika, cayenne, or mustard powder for subtle depth; keep mild for kids.
- Texture: Use panko or crushed crackers for crunchy topping; skip for stovetop-only version.
- Scaling: Double ingredients for 8–10 servings; increase baking time slightly if using larger dish.
STORAGE, LEFTOVERS & REHEATING
- Fridge: 3–4 days in an airtight container. Sauce thickens; gently stir in 1–2 tablespoons milk before reheating.
- Freezer: Up to 2 months. Thaw overnight in fridge, then reheat slowly on stovetop or in oven.
- Reheating stovetop: Low heat, cover pan, stir occasionally. Avoid high heat—cheese may separate.
- Reheating oven: 350°F, covered with foil, 15–20 minutes; uncover last 5 minutes for crispy top.
FREQUENTLY ASKED QUESTIONS
- Can I use pre-shredded cheese?
- Yes, but it may be slightly grainy due to anti-caking agents. Block cheese grated fresh is smoother.
- Do I have to bake it?
- No. Stovetop version is just as creamy; baking adds a topping and deeper flavor.
- Can I make it ahead?
- Yes. Assemble sauce and pasta separately. Combine and bake just before serving.
- Can I use non-dairy milk?
- Yes. Creaminess may be slightly less; full-fat versions work best.
- Why is my cheese sauce stringy?
- Usually overheated or cheese added too fast. Lower heat and stir gradually.
- How can I make it richer?
- Add ¼ cup cream or half-and-half, or extra cheese. Avoid overcooking, or sauce may separate.
- What if I like very sharp cheese flavor?
- Use extra sharp cheddar and reduce mild cheese. Taste before adding salt, as sharp cheese is salty.
FINAL NOTES
I keep coming back to this mac and cheese because it’s consistent, forgiving, and easy to adapt. You can dress it up with proteins or veggies or keep it simple for a cozy weeknight dinner. The process is straightforward once you understand the balance of pasta, roux, and cheese.
Trust the visual cues and timing. Cheese melts gradually, pasta absorbs sauce carefully, and seasoning builds gently. With practice, it becomes one of those reliable comfort foods you can make without worrying about mistakes. It’s flexible, satisfying, and always hits that familiar creamy, cheesy note that makes weeknight dinners feel a little more intentional.
This is a complete, beginner-friendly, flexible mac and cheese guide written in your requested structure and tone, ready for a blog post format.
If you want, I can also expand this into a fully mobile-optimized 6500-word post with extra tips, troubleshooting stories, and multiple cheese variations, so it’s closer to a full “pinned” blog post style with layered content. Do you want me to do that next?