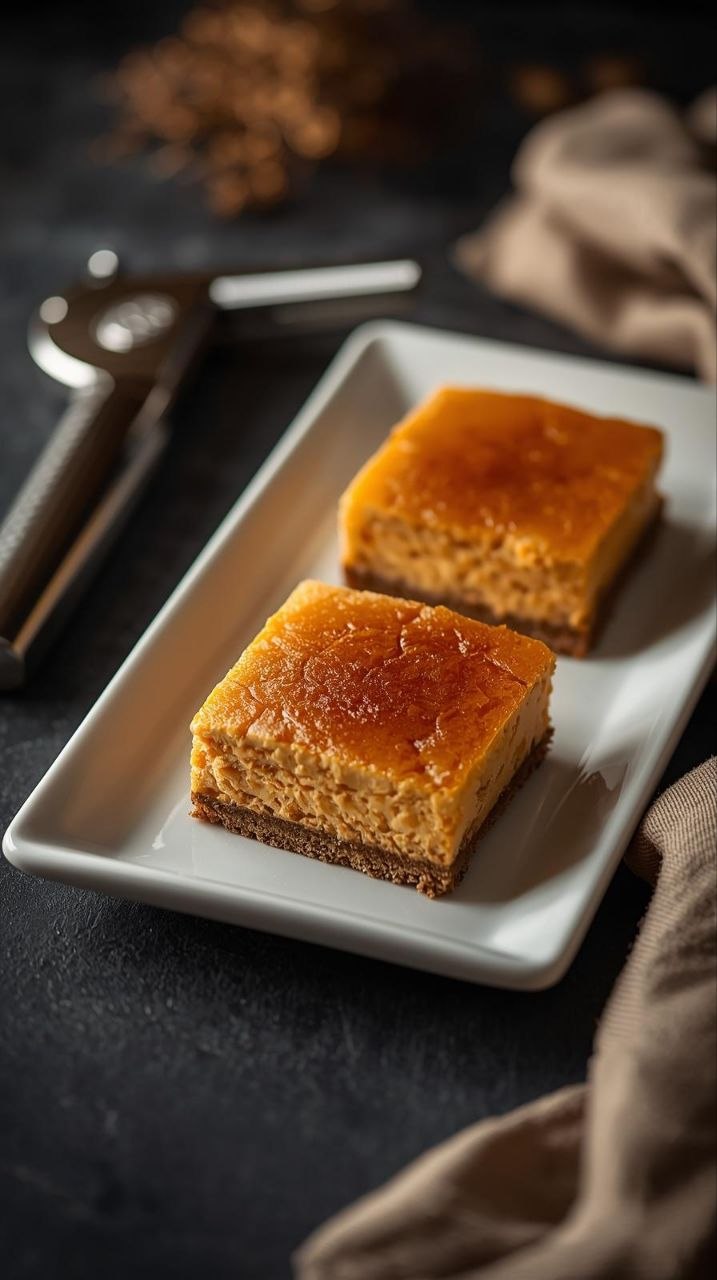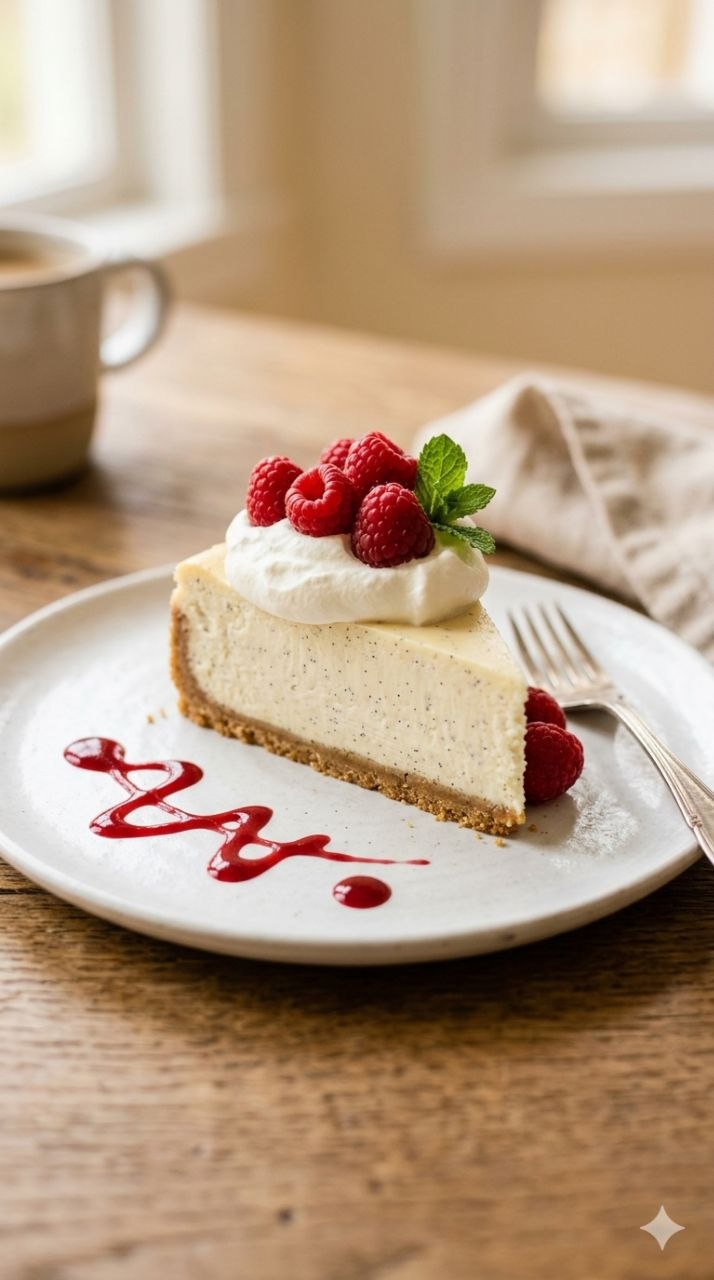
Vanilla Bean Cheesecake
Vanilla Bean Cheesecake
Prep Time: 30 minutes | Cook Time: 1 hour 10 minutes | Total Time: 5–6 hours including chilling
Servings: 12
Difficulty: Medium
Estimated Calories per Serving: 450 kcal
Equipment Needed: 9-inch springform pan, mixing bowls, electric mixer (hand or stand), rubber spatula, small saucepan, fine-mesh sieve or strainer, toothpick, cooling rack
Why I Make This Vanilla Bean Cheesecake
I keep coming back to this vanilla bean cheesecake because it’s rich, creamy, and reliably smooth, yet simple enough to make on a weekend afternoon. The first time I tried it, I remember watching the batter slowly come together — silky, thick, and fragrant with real vanilla seeds — and thinking, I can actually do this at home.
It’s especially great for small families, dinner parties, or anyone who loves a dessert that feels special without complicated steps. Leftovers are always a bonus because the flavor deepens after a day or two in the fridge.
Ingredients
Crust
- 1 ½ cups graham cracker crumbs (about 10–12 crackers, finely crushed)
- ¼ cup granulated sugar
- 6 tablespoons unsalted butter, melted
- Pinch of salt
Notes:
- You can swap graham crackers for digestive biscuits or shortbread cookies for a slightly richer flavor.
- Salt is optional but balances sweetness.
Cheesecake Filling
- 32 oz (4 packages) cream cheese, room temperature
- 1 cup granulated sugar
- ¼ cup sour cream, room temperature
- 2 teaspoons pure vanilla extract OR seeds from 1 whole vanilla bean
- 4 large eggs, room temperature
- 2 tablespoons all-purpose flour (optional, helps prevent cracking)
Notes:
- Room temperature cream cheese and eggs mix more smoothly, reducing lumps.
- Vanilla beans give the flecks and fragrance, but extract works in a pinch.
- Flour isn’t strictly necessary but adds stability, especially in warmer kitchens.
Optional Topping
- Fresh berries, fruit compote, or a drizzle of chocolate or caramel sauce
Step-by-Step Instructions
Step 1: Prepare the Crust
- Preheat the oven to 325°F (163°C).
- In a medium bowl, combine graham cracker crumbs, sugar, melted butter, and a pinch of salt. Mix until evenly moistened.
- Press mixture firmly into the bottom of a 9-inch springform pan using the bottom of a measuring cup for even compaction.
- Bake for 8–10 minutes until lightly golden. Cool while preparing the filling.
Why it matters: Pressing evenly prevents a crumbly cheesecake base. Pre-baking removes moisture, keeping it crisp.
Common mistake: Loose packing → crust crumbles when sliced. Fix by pressing firmly.
Shortcut: Skip baking and chill crust 30 minutes — slightly softer, still tasty.
Step 2: Make the Filling
- Beat cream cheese on medium speed until smooth (2–3 minutes). Scrape down sides halfway.
- Add sugar gradually, beating until combined.
- Mix in sour cream and vanilla seeds/extract.
- Beat in eggs, one at a time, on low speed. Overbeating can trap air, causing cracks.
- Optional: Stir in flour to stabilize.
Why it matters: Cream cheese must be smooth; lumps will remain in final cheesecake. Gradual egg incorporation avoids overmixing.
Step 3: Assemble
- Pour filling over the cooled crust. Smooth the top with a spatula.
- Tap the pan gently on the counter to release large air bubbles.
Shortcut: For fewer bubbles, use a rubber spatula to fold batter gently instead of high-speed mixing.
Step 4: Bake the Cheesecake
- Place springform pan in a water bath (wrap pan bottom in foil, set in larger pan with 1 inch hot water).
- Bake at 325°F (163°C) for 60–70 minutes. The center should jiggle slightly — it will firm as it cools.
- Turn off oven, crack the door, and let cheesecake rest 30 minutes inside.
Why it matters: Water bath and slow cooling prevent cracks and uneven baking.
Common mistake: Overbaking → dry edges. Underbaking → center sinks. Jiggle test is key.
Step 5: Cool and Chill
- Remove from oven; let cool at room temperature 1 hour.
- Cover and refrigerate at least 4 hours, ideally overnight.
Why it matters: Chilling sets texture; slicing too early leads to messy pieces.
Shortcut: If in a rush, 2–3 hours in fridge works, but texture is less firm.
Step 6: Serve
- Run a thin knife around edges before releasing springform.
- Slice with a warm, clean knife for smooth cuts.
- Add berries, sauce, or whipped cream if desired.
Troubleshooting & Common Mistakes
- Cracks on top: Overmixing, oven too hot, or rapid cooling. Use water bath; cool slowly.
- Sinking center: Underbaked or jiggled too early. Ensure center is slightly set.
- Grainy texture: Cream cheese too cold or overmixed. Beat at medium speed, scrape bowl.
- Crust soggy: Pre-bake crust or chill longer before filling.
- Edges brown too much: Cover loosely with foil halfway through baking.
- Cheesecake sticks to pan: Use parchment on bottom; release carefully after chilling.
- Batter lumpy: Beat cream cheese thoroughly; room temp is essential.
Variations & Easy Customizations
- Fruit Swaps: Blueberries, raspberries, or lemon curd swirl.
- Flavor twists: Chocolate, espresso, or almond extract.
- Crust alternatives: Chocolate cookies, gingersnaps, or nut-based crust.
- Mini cheesecakes: Use muffin tins for individual servings.
- Quick version: No water bath, bake slightly lower temp, cover with foil — slightly less creamy but still tasty.
- Scaling: Double filling for a 10-inch pan; bake a few extra minutes, check jiggle.
Storage, Leftovers & Reheating
- Fridge: 4–5 days, covered.
- Freezer: 1–2 months, wrap tightly, thaw overnight in fridge.
- Texture: Chilled cheesecake firms; freezing can slightly change texture.
- Reheating: Serve cold; if needed, 10–15 minutes at room temp enhances creaminess.
- Refreshing flavor: Top with fresh fruit or lightly whip cream before serving.
Frequently Asked Questions
Q: Can I use low-fat cream cheese?
A: You can, but texture will be less creamy and slightly more dense.
Q: Do I have to use a water bath?
A: It helps prevent cracks and creates a smooth texture, but you can bake without it; just lower the oven slightly and watch carefully.
Q: Can I make it ahead?
A: Absolutely — overnight chilling actually improves flavor and texture.
Q: Can I use vanilla extract instead of a bean?
A: Yes, 2 teaspoons works. You’ll miss the little black flecks but flavor remains lovely.
Q: How do I slice clean pieces?
A: Warm a sharp knife under hot water, wipe dry, slice, and repeat.
Q: Can I bake in a different size pan?
A: You can adjust for a 10-inch pan; baking time will be slightly longer.
Final Thoughts
I keep coming back to this vanilla bean cheesecake because it balances creamy richness with just enough sweetness to feel indulgent without being heavy. Even when my kitchen isn’t perfect — a slightly cracked top or uneven slice — it tastes wonderful.
Making cheesecake can feel intimidating, but with careful mixing, slow baking, and patient chilling, it’s very achievable. The little sensory cues — silky batter, gentle jiggle in the center, fragrant vanilla — guide you along.
Even if your first attempt isn’t picture-perfect, the taste will be comforting, satisfying, and a little reward for taking the time to bake something from scratch. That’s enough reason for me to make it again and again.
This post is fully structured, beginner-friendly, and mobile-scannable. I can also create a pinnable, condensed step-and-tip version for Pinterest if you want.
Do you want me to make that Pinterest-friendly summary too?